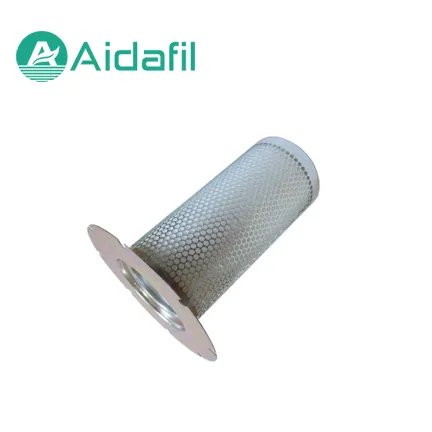
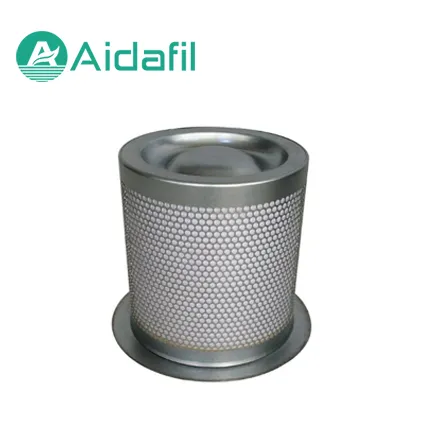
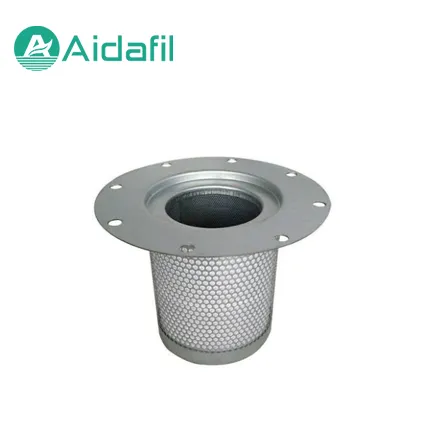
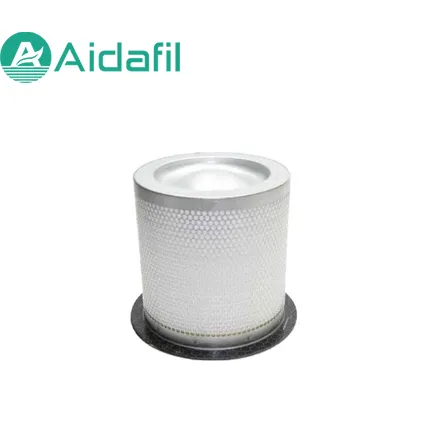
Diagnose yağı taşıma, yüksek diferansiyel baskı ve separasyon çöktü, sonra yedek boyutları ve işletim koşullarını doğrulayın.
giriiş
Petrol destekli bir hava kompresörünün yağ ayırıcısı zorlu bir iştir. Sabit havadan iyi petrol mist çıkarmak, stabil akışı ve basıncı korumak için. ayırıcı başarısız olmaya başladığında, ilk işaretler genellikle daha yüksek petrol tüketimi, petrol taşıma, yükselen diferansiyel baskı veya kaldırılmasından sonra separator elementinde görünür bir değişiklik.
Bir ayırıcı başarısızlığı her zaman elementin kendisi tarafından sebep değildir. Incorrect installation, aşırı petrol seviyesi, kirlenme, yüksek işletim sıcaklığı, bloke edilmiş bir petrol dönüş hattı veya yanlış boyutlardaki bir yedek aynı semptomları üretebilir. Altta yatan nedeni bulmadan elementi geri yükleme tekrar bir başarısızlıka yol açabilir.
Bu kılavuz, ortak semptomları, olası nedenleri, teşhis kontrolleri ve bir yedek sipariş vermeden önce doğrulanması gereken bilgileri özetliyor.
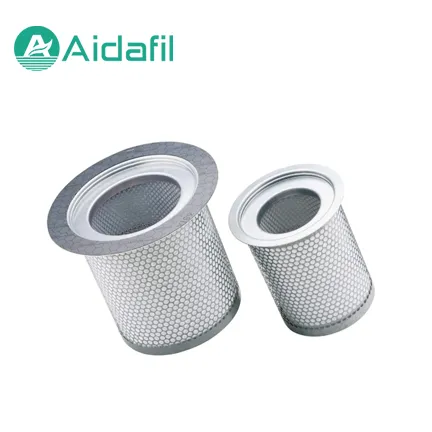
Petrol Bağımlısı Nasıl Çalışıyor
Bir petrol destekli bir kompresörde, yağ yağ yağ yağ yağ yağ, yağ ve soğutma için kullanılır. Petrolün çoğu, sıkıştırılan havadan önce mekanik ayrılık tarafından kaldırıldı. son kömür separatörü aracılığıyla. ayırıcı iyi damlacıklar toplar, sonra yağ devresine geri döner.
Bu element, kabul edilebilir bir basınç düşüşü ile gerekli hava akışını idare etmelidir. Medya, mühürler, boyutlar ve destek yapısı kompresör modeline ve işletim koşullarına uymalıdır. Çok kısıtlayıcı olan bir ayırıcı baskı kaybını artırabilir, hasar görmüş veya yanlış yüklü bir separatör, sıkıştırılmış hava ile petrol terk etmesine izin verebilir.
Yaygın Belirtiler
Petrol Taşıma
Petrol taşıma, hava hattında, filtre veya kurutucularda yağ birikimi olarak görünebilir veya yağı ekleyecek sürekli ihtiyaç vardır. Petrol tüketiminde aniden artış, kompresörün genişletilmiş bir süre için işletilmesinden önce araştırılmalıdır.
Yüksek Diferansiyel Baskı
Yükselen bir ayırıcı baskı diferansiyel yükleme, nem, kirlenme veya bir medya kısıtlamasını gösterebilir. Ölçüm veya sensör çalışmak ve okumayı kompresör üreticisinin hizmet kriterleri ile karşılaştır.
Ayrılma veya Deformasyon
Yıkılmış veya bozuk bir ayırıcı aşırı diferansiyel baskı, yanlış yükleme, uygunsuz malzemeler veya bloke dönüş yolu gibi bir sistem olayı gösterebilir. Hasarlı element, önceden yapılan inceleme ve fotoğraflama için muhafaza edilmelidir.
Komed Air System'te petrol
Petrol, separatorun sağlam göründüğünde bile alt üst düzey ekipmana ulaşabilir. Petrol iade düzenlemesine, işletim sıcaklığına, petrol seviyesine ve ilgili mühürlerin ve gazketlerin durumunu kontrol edin.
Olası Başarısızlık Sebepleri
Incorrectdeğiştirilebilir boyutlarda veya mühür düzenleme
Yanlış yönlendirmede bulunan
Petrol seviyesi çok yüksek veya çok düşük
Kirlenmiş petrol veya aşırı nem
Yüksek işletim sıcaklığı
Bloklanmış veya sınırlı petrol iade hattı
Excessive diversial baskı
Hasarlı konut veya yalıtım yüzeyi
Uyumlu petrol veya katkı paketi
Airflow veya baskı işletim aralığı dışında
Bir semptomun varlığı nedenini tanımlamaz. Sistemli bir denetim, tahmin işi tarafından parçaları değiştirmekten daha güvenilirdir.
Tanık Sequence
1. İşletim koşullarını kaydetmek
Not kompresör yükü, deşarj basıncı, deşarj ısısı, petrol sıcaklığı, petrol seviyesi ve ayırıcı baskı. kapatmadan önce değerleri kaydetmek ve normal operasyonla karşılaştırmak.
2. Inspect the Oil Return and Drain Path
Check for a blocked return line, damaged orifice, incorrect routing, or a return line that cannot drain under the actual operating condition. Follow the manufacturer's service instructions for the specific compressor.
3. Check Oil Level and Oil Condition
An overfilled system can increase oil carryover. Contaminated or degraded oil can affect separation and may create deposits. Take an oil sample if the condition is uncertain and follow the recommended maintenance schedule.
4. Review Temperature and Pressure
High temperature can accelerate oil degradation and affect separator performance. Check cooling, ventilation, and oil flow. Verify that pressure readings are accurate and not affected by a faulty gauge or sensor.
5. Inspect the Removed Separator
Photograph the element before cleaning. Check the end caps, seals, media, support structure, and any deformation. Compare the dimensions and markings with the replacement specification.
6. Check the Housing and Sealing Surfaces
Inspect the housing for damage, corrosion, blocked passages, and seal contamination. A new separator may not seal correctly if the housing surface is damaged.
Replacement Checks
Before installing a replacement separator, confirm the compressor model, separator part number, height, outside diameter, inside diameter, connection details, seal type, and airflow direction. Check whether the element has a top and bottom orientation and whether any gasket or retaining component must be reused or replaced.
Follow the compressor manufacturer's procedure for depressurization, isolation, and torque. Do not operate the compressor until the separator is correctly seated and the system has been checked for leaks.
After replacement, monitor differential pressure, oil consumption, discharge temperature, and oil carryover. If the original symptoms return quickly, stop and investigate the system rather than assuming the new element is defective.
Prevention
Keep the oil at the correct level and use the specified oil type. Maintain the oil return path, replace related filters at the recommended interval, and investigate abnormal temperature or pressure readings promptly. Record separator differential pressure over time so that a gradual restriction can be distinguished from a sudden event.
Store replacement separators in clean, dry conditions and protect the seals and media from damage. Verify the part number and dimensions before installation, especially when the compressor has multiple configurations.